You can customize ticket fields in Grispi to collect additional information about your customers or their issues, helping your team resolve tickets more efficiently.
To add a custom field:
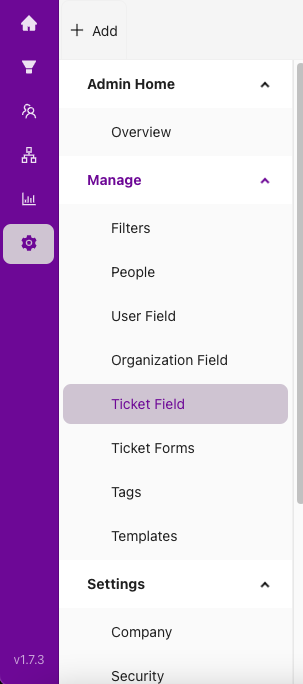
1. Go to Settings → Ticket Fields.
2. In the pop-up window, select the field type you want to add.
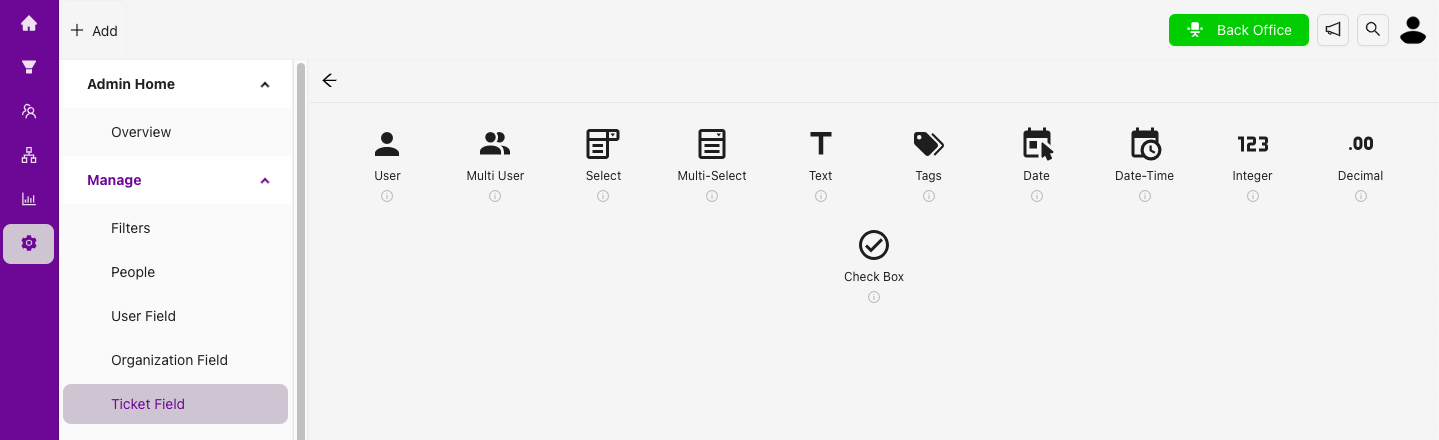
Grispi provides various field types (e.g., text, dropdown, checkbox).
For more details, see: How can I customize data fields?
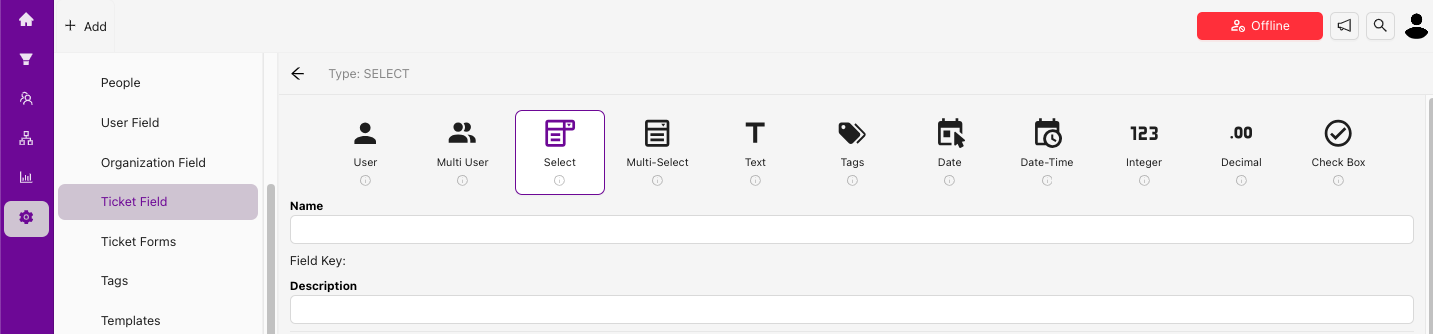
3. Enter a name and description for the field.
4. Choose the visibility and permissions:
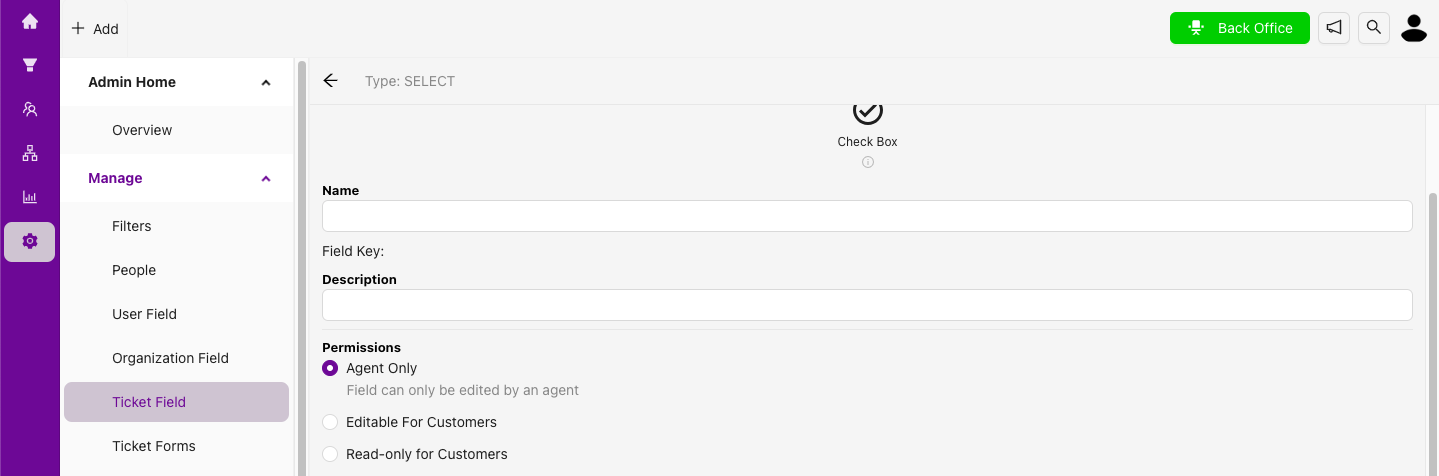
he field will be visible to either customers or agents, so make sure to provide a clear title and description that they can understand.
Agent Only: The field can only be seen and edited by agents.
Editable for Customers: End users can view and edit the field.
Read-only for Customers: End users can view the field but cannot edit it.
Make sure to provide appropriate titles and descriptions for customers or agents based on visibility.
5. Set field requirements:
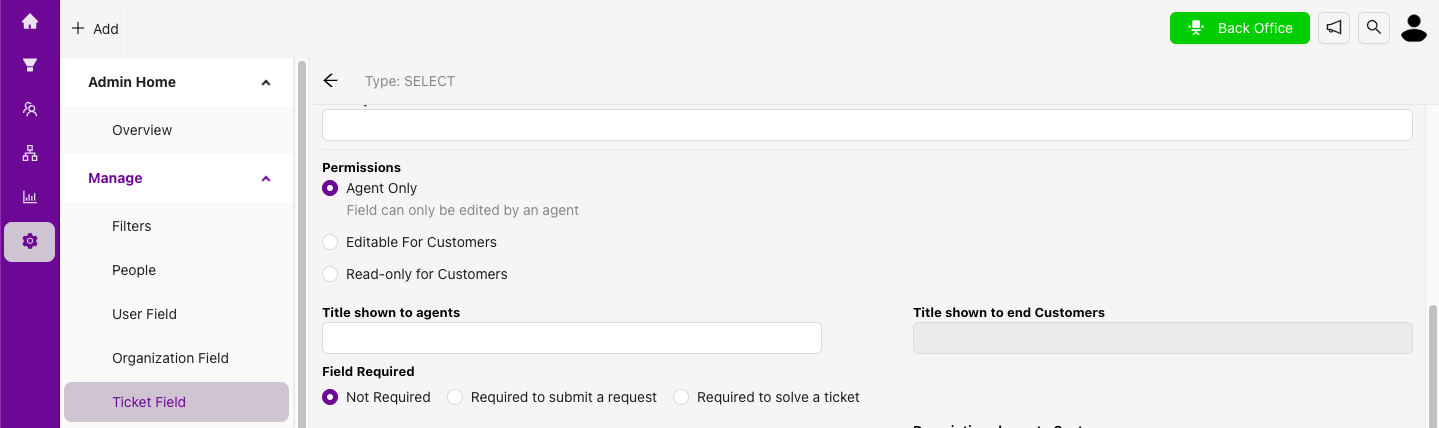
Select Required to resolve if agents must complete the field before closing the ticket.
Select Required to send a ticket if customers must complete the field to submit a ticket.
6. Click Save to apply your changes.
