A Grispi customer support form is an online form that customers can fill out to report issues or submit requests.
With Grispi, you can create customizable support forms and manage customer inquiries more efficiently by embedding these forms into your website or support platform.
These forms typically include fields such as customer name, email address, request subject, and a detailed description of the issue. You can also add optional fields like request priority, department selection, or file uploads — all configurable to match your internal workflows.
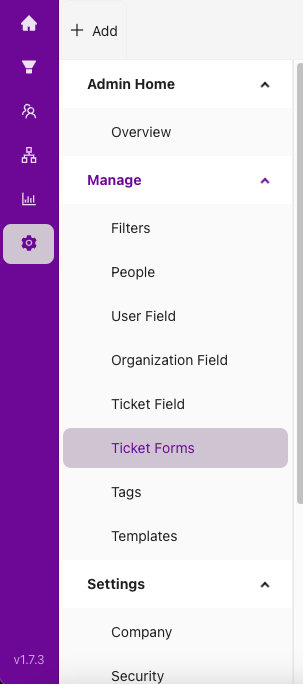
1. Go to Settings → Ticket Forms.
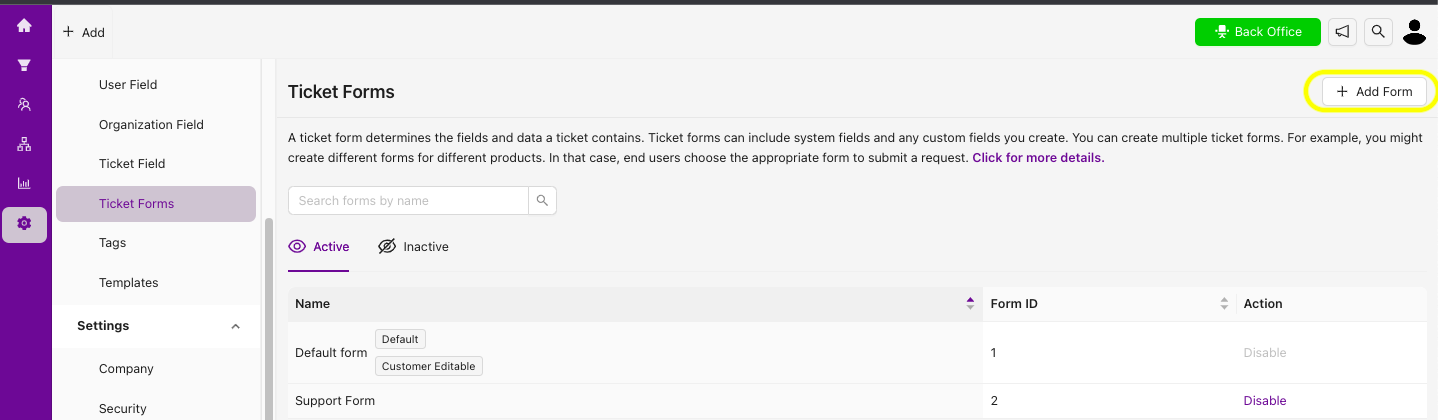
2. Click the +Add Form button to create a new form.
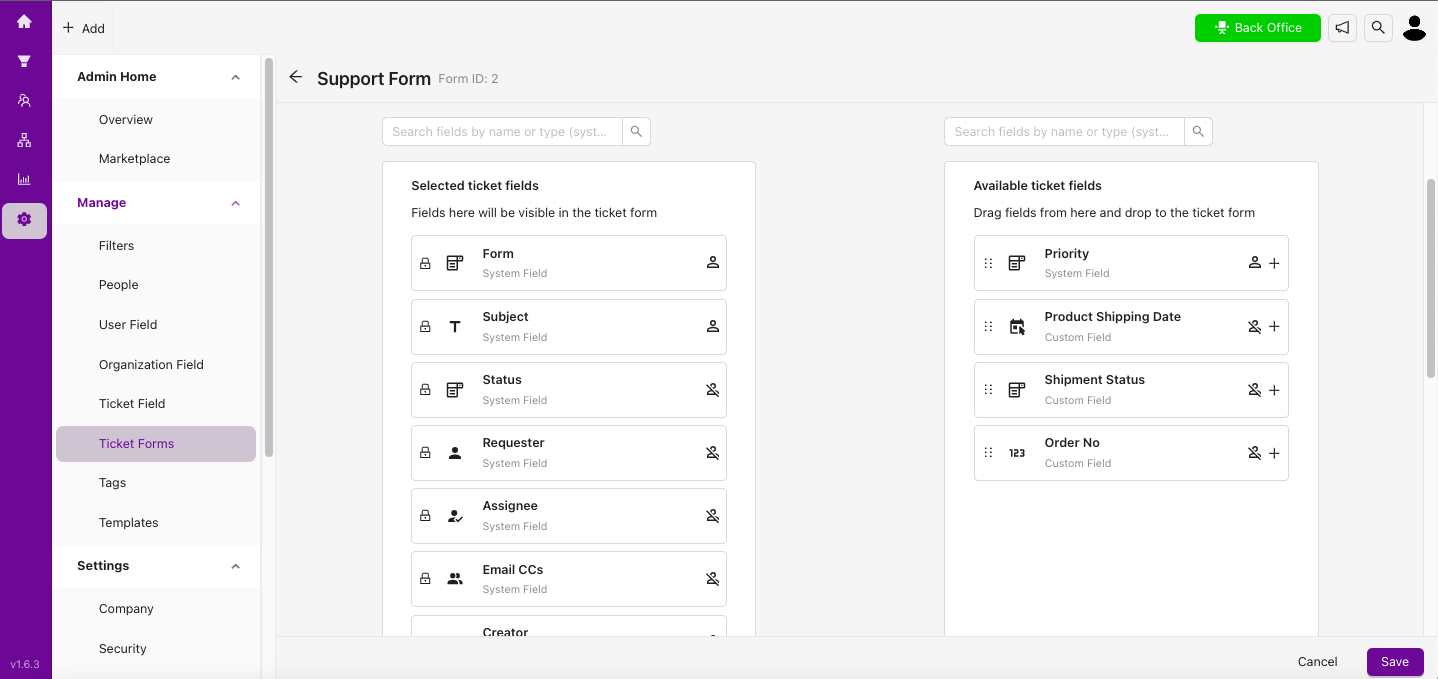
3. On the form creation page, enter a name and description for your form. Use the drag-and-drop interface to add the fields you need.
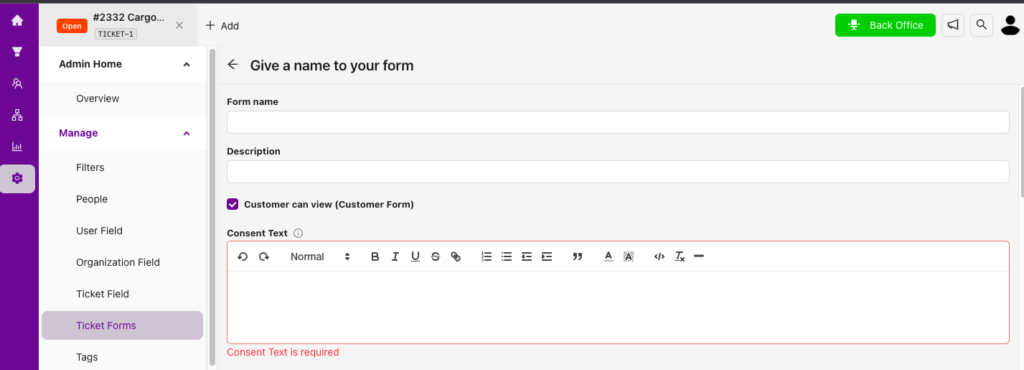
4. If you want the form to be visible to end users, check the Customer can edit option. You can also provide a consent message if needed.
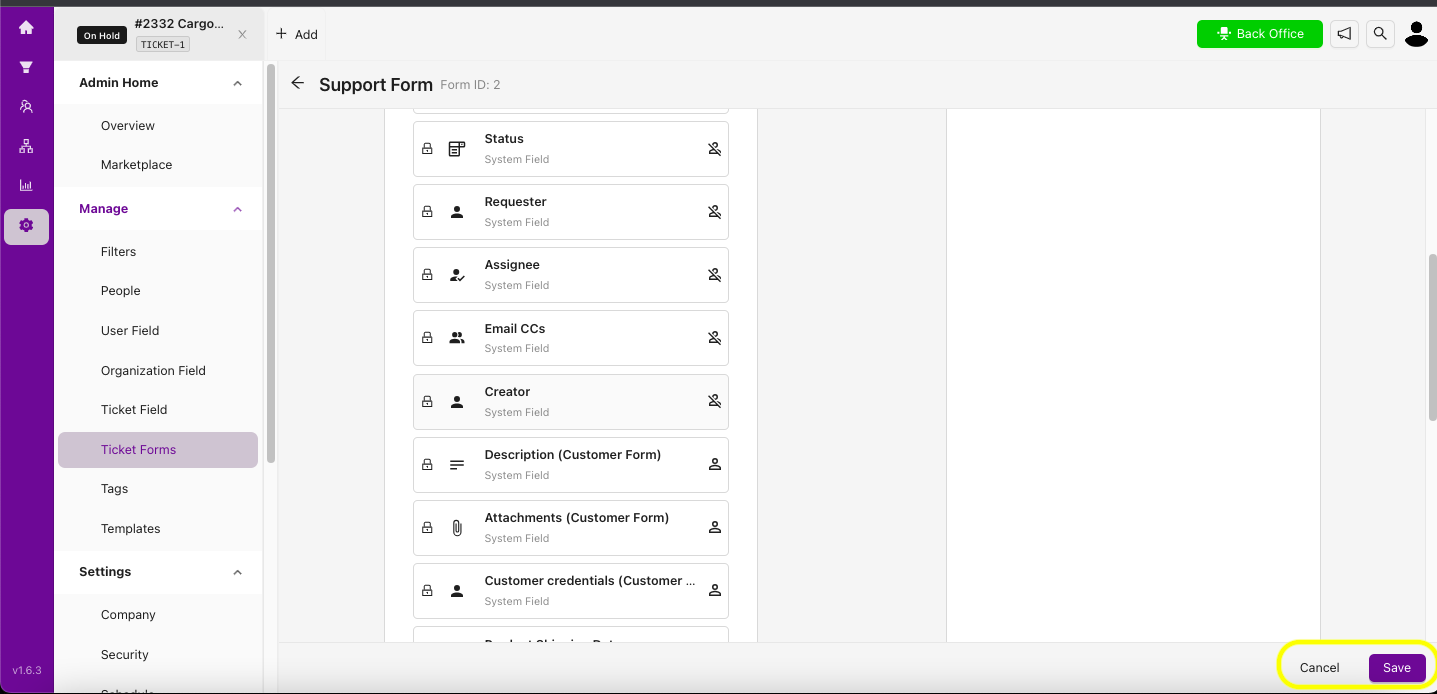
5. In the image below, you can see the default fields provided by Grispi, listed under Selected Request Fields. These cannot be removed. Under Existing Ticket Fields, you can find custom fields you’ve previously created and reuse them in your form.
👉 Click here to learn how to add a custom request field to your forms.
6. Click Save to activate your new ticket form.
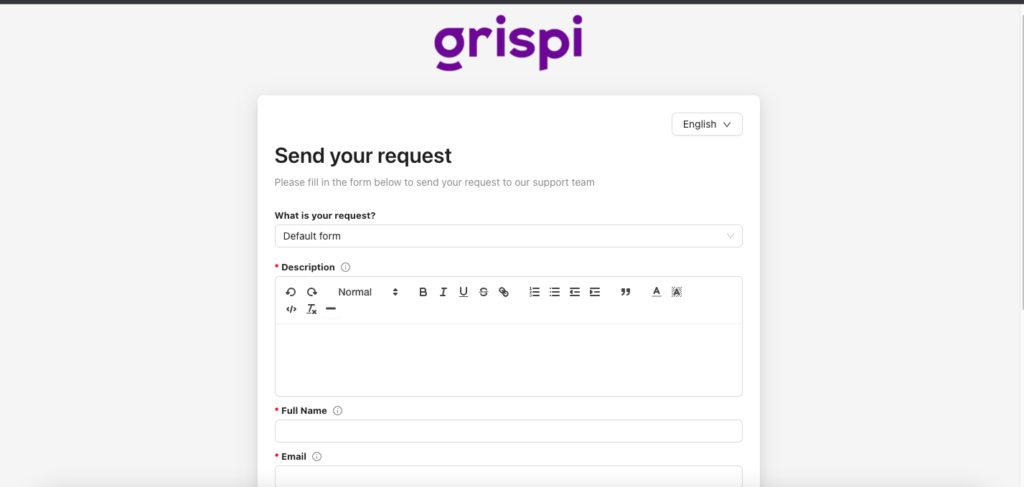
Once saved, you can share the form with your customers by adding the link to your website or help center. All submitted requests will be managed directly within Grispi.
Link to your form: https://(tenantname).grispi.com/requests/user-forms/(form-id)
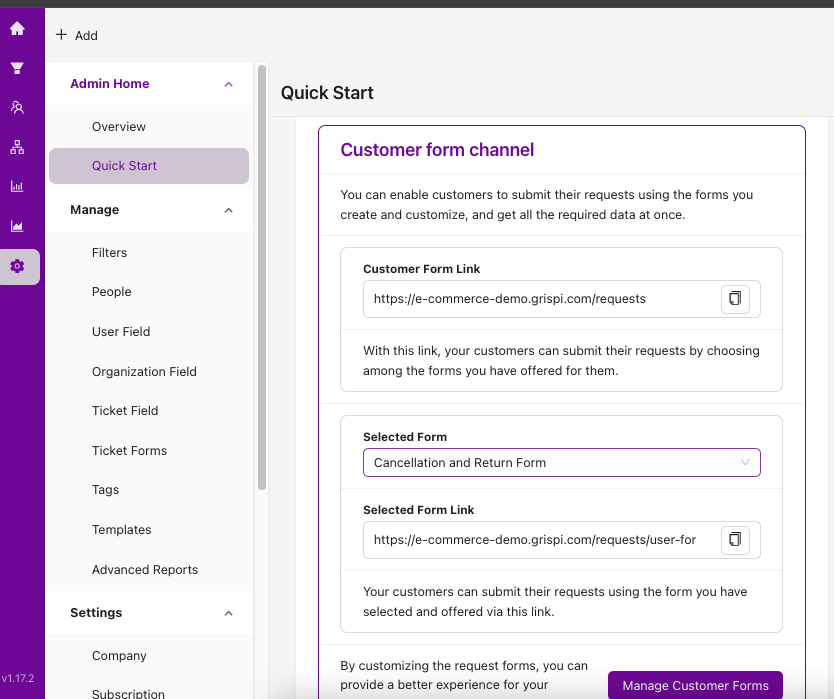
You can find all your customer form links under:
Settings → Quick Start → Customer Form Channel