Ticket fields are used to collect more information about the ticket, product, or service.
You can add many types of custom fields to tickets. These fields can be made visible only to agents or to both agents and end users. You can include custom fields in your ticket form by making them editable and visible. Custom ticket fields can be either mandatory or optional. You can add fields with various data types such as drop-down lists, multi-select, checkboxes, and numeric values.
After creating a custom ticket field, you can use it in triggers, automations, and macros. You can also generate customized reports using these fields.
1. When your ticket screen is open, you can easily view all the information it contains.
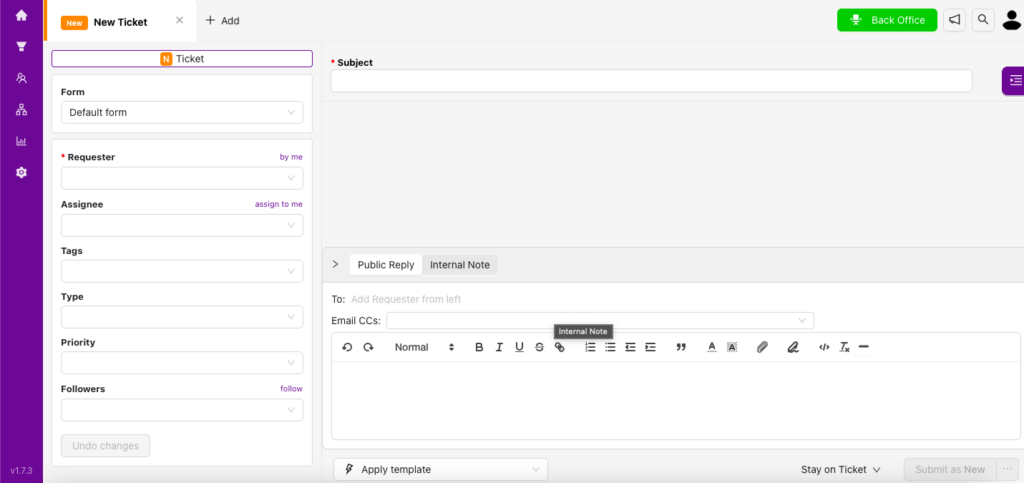
2. Ticket field properties include the following elements:
Form: Sections that contain data fields you can tailor to your organization’s needs.
See also > How Can I Create a New Form?
Requester: The person on whose behalf the ticket is created. You can fill this field with the requester’s email address. If the user is already registered, their name will appear as you type. If not, you can create a new user in the system by clicking the add button after entering the email address.
Assigned: All tickets must be assigned to an agent or group in order to be resolved and closed. You can assign the appropriate person using this field.
Tags: Use this field to tag and track tickets within your organization.
Priority: Set the priority of the ticket as Urgent, Low, Medium, or High.
Followers: If someone other than the assignee needs to follow the ticket, you can add them here.
Undo Changes: This button allows you to undo unsaved changes made to the fields above.
See also > How Can I Add Custom Fields to My Tickets?