Grispi filters are tools that allow you to manage tickets and classify them according to specific criteria. Filters allow users to list tickets based on specific attributes (for example, priority, status, tags, a specific piece of text, date, etc.).
By making the filters visible to specific users or groups, you can ensure that each user sees only the tickets they are interested in. This prevents confusion and allows users to focus more on their work.
Examples
- Display Results for a Specific Date Range:
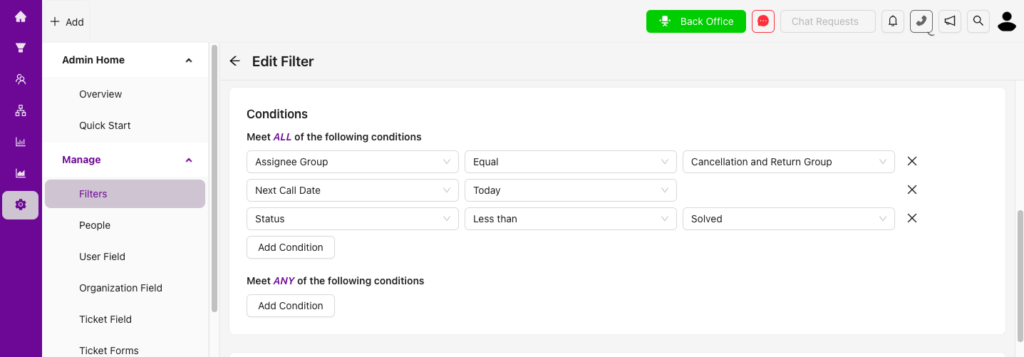
- My Call Today: By creating a filter in this way, you can filter tickets with the next search date set to today, for specific users or groups.
- Tickets of the Last 7 Days: This filter can show tickets that were created or updated in the last 7 days.
- Limiting to a Specific Group:
- Customer Support Form Tickets: You can create a filter like this for the customer support team to see tickets submitted through the support form.
- Sales Department Tickets: This filter can show only the tickets created or handled by the sales department.
Similarly, you can add tickets by customizing them according to your workflows by adding conditions. You can also export the filters you have created.
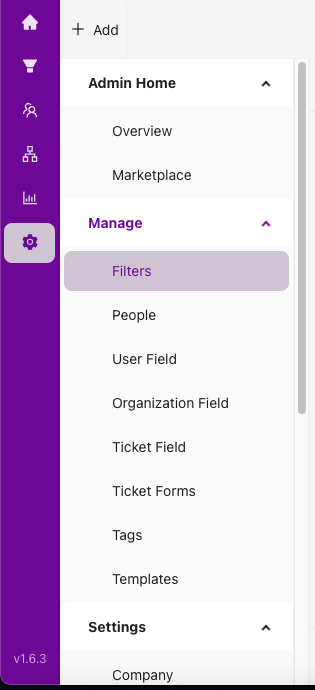
Only people with administrator authorization can edit all the filters you have created in Grispi. You can take the following actions from the Settings → Filters section:
You can manage the following fields when creating or editing a filter:
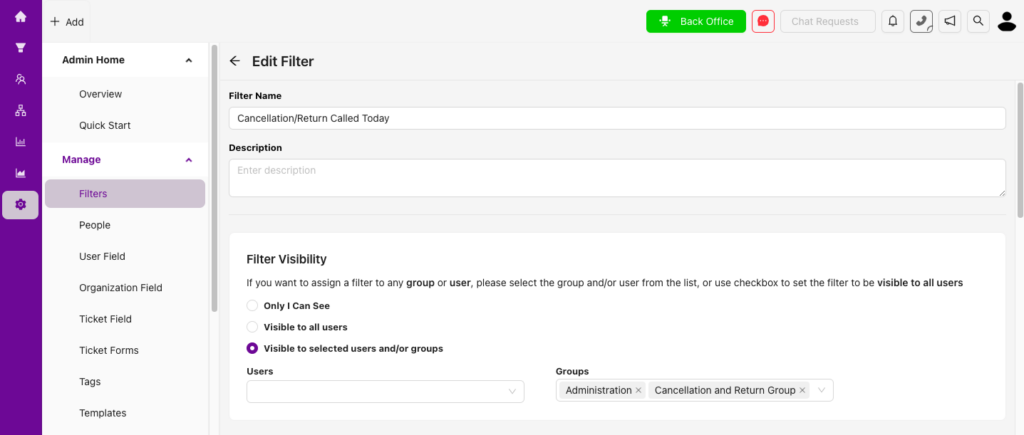
- Filter name and description,
- Filter visibility
- Filter conditions
- Filter listing
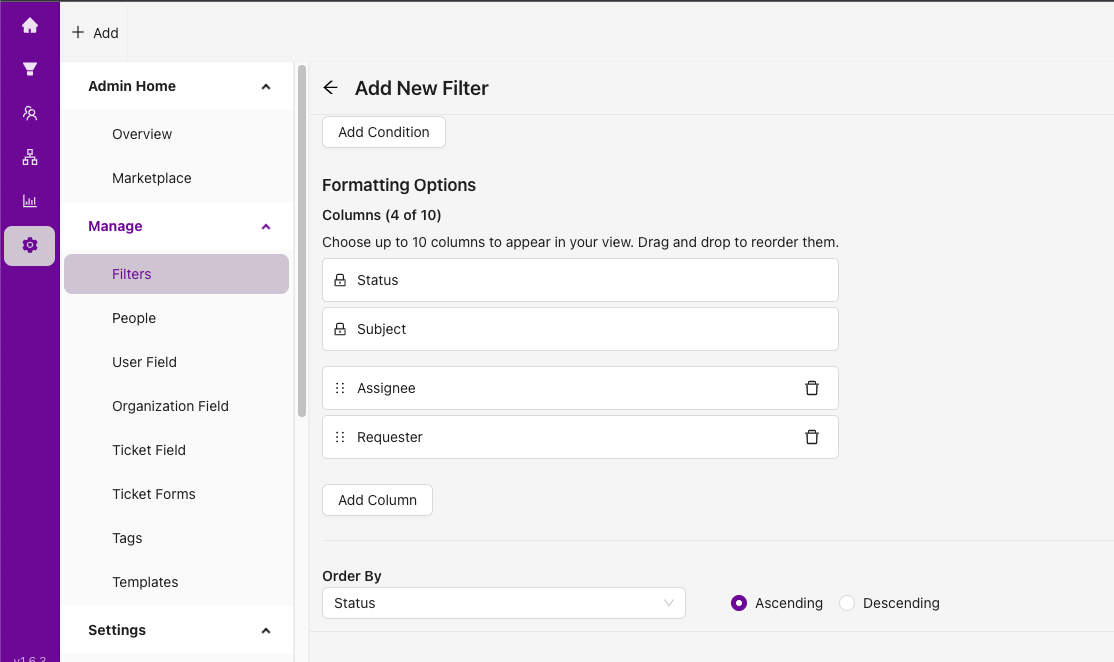
- Filter sorting
You can find more detailed information about filters in the article “How can I create a filter?”.