Welcome to Grispi! After creating your account, use this starter guide to quickly set up and begin managing multi-channel customer support.
In this guide, you’ll find step-by-step instructions for:
- User management
- Ticket forms and filter settings
- Automations
- Integrations with email, social media, WhatsApp, and call center systems
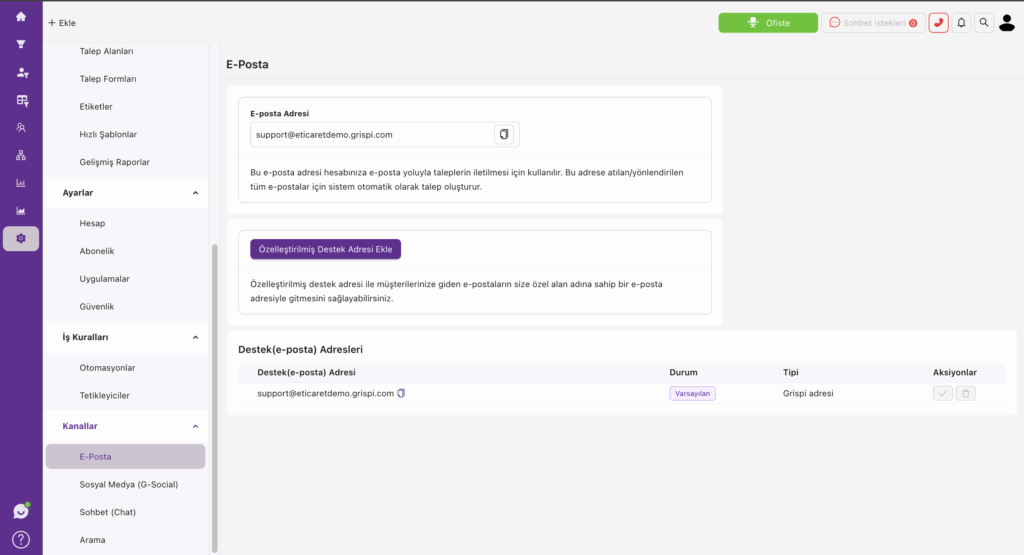
✉️ 1. Email Integration
✅ What does it do?
Automatically converts customer emails into support tickets in Grispi.
🔗 For Other Email Services (Outlook, Exchange, Yandex):
If you’re using a non-Gmail system, follow this guide:
👉 Guide to Forwarding Email to Grispi
📧 Need help? Contact: → [email protected]
Also see: How to Integrate Email in Grispi (Mail Forwarding)
📩 Your Unique Forwarding Address:
[email protected]All emails forwarded to this address will be converted into support tickets.
☁️ Gmail / Google Workspace Setup:
🔧 Installation Steps:
- Log in to your Gmail account
- Go to Settings (⚙️) > See All Settings
- Click the Forwarding and POP/IMAP tab
- Click Add a forwarding address
- Enter:
[email protected] - The Gmail confirmation email will appear in Grispi as a ticket
- Copy the verification code and paste it into Gmail
- Enable and save forwarding
✅ All incoming Gmail messages will now appear in Grispi automatically.
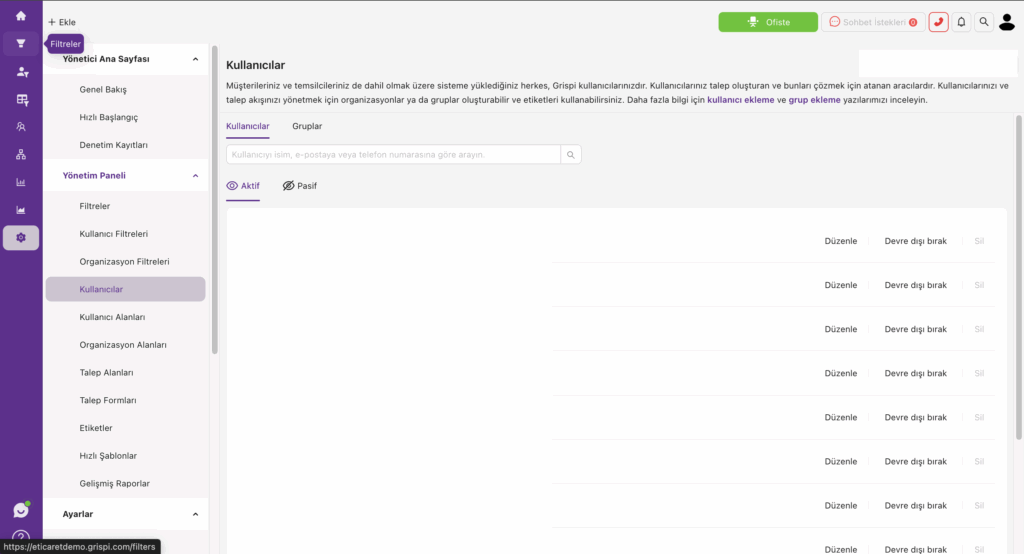
🔐 2. Add User
✅ What does it do?
Invites team members to view, manage, or respond to support tickets.
🛠️ How to do it:
- Go to Settings > Users
- Click Add User
- Enter the name, email, and select a role
- An invitation email will be sent to the user
📄 Related article: How to Add a User in Grispi
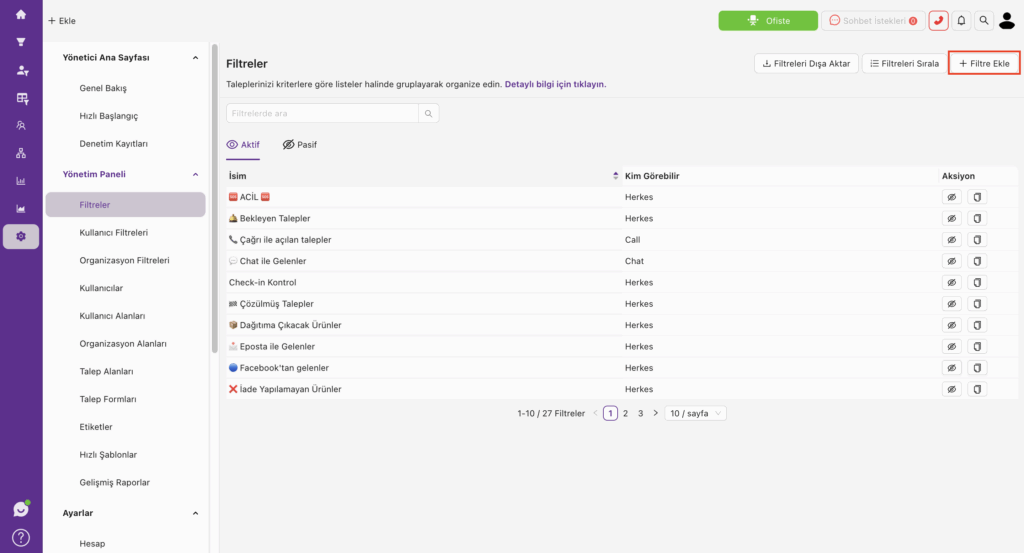
🗂️ 3. Create Filters
✅ What does it do?
Organizes incoming tickets based on rules, helping agents focus on what matters.
🛠️ How to do it:
- Go to Tickets > Filters > Create Filter
- Name your filter (e.g., Instagram Tickets)
- Set conditions:
- Channel = Instagram
- Status ≠ Closed
- Click Save
📄 Related article: How to Create a Filter
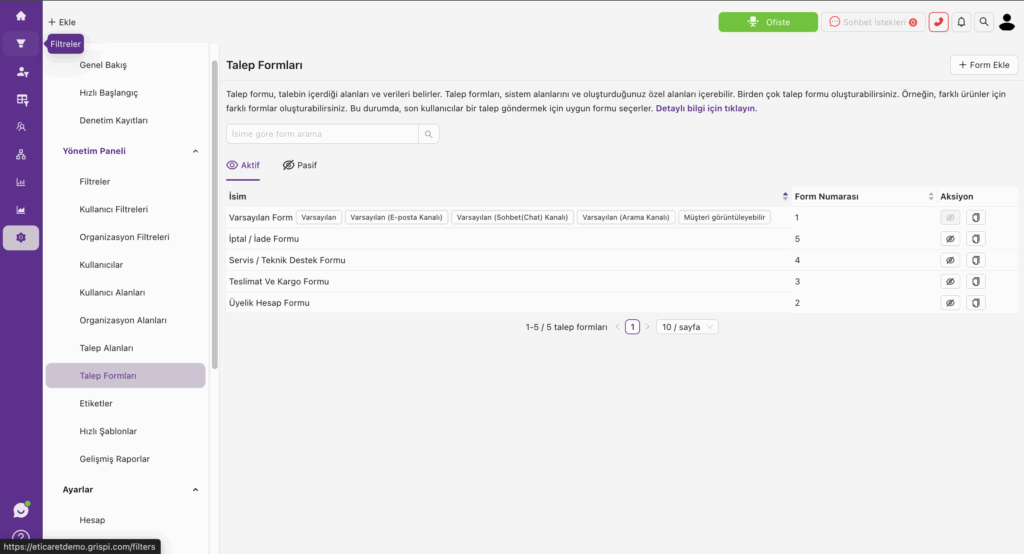
🧾 4. Ticket Forms and Fields
✅ What does it do?
Customizes the data you collect from customers to improve routing and resolution speed.
🛠️ How to do it:
- Go to Settings > Ticket Forms
- Create or edit a form
- Add fields like Description, Order Number, File Upload
- Define which fields are required or hidden
📄 Related article: Creating a Customer Ticket Form
⚙️ 5. Triggers
✅ What does it do?
Performs automatic actions when specific events occur—like assigning tickets or sending notifications.
🛠️ How to do it:
- Go to Settings > Automation > Triggers
- Click Add Trigger
- Define conditions (e.g., Channel = Instagram, Status = Open)
- Set actions (e.g., Add tag:
social media) - Save and activate
🎯 Example use cases:
- Tag all Instagram tickets as “social media”
- Route WhatsApp tickets to a specific team
- Flag holiday-related tickets for prioritization
📄 Related article: How to Create a Trigger
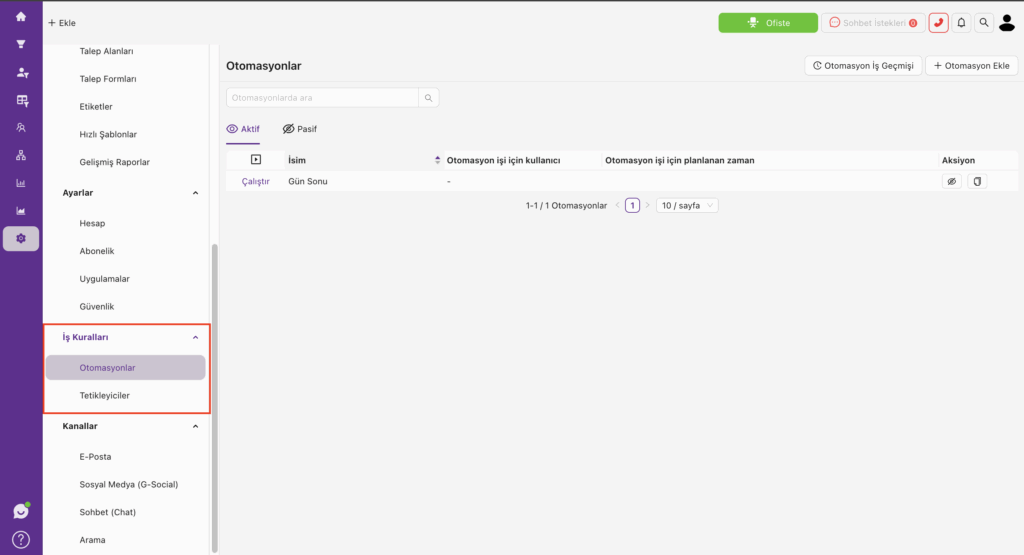
🔁 6. Automations
✅ What does it do?
Executes time-based or manual rules to handle repetitive tasks like follow-ups or escalations.
🛠️ How to do it?
- Go to Settings > Business Rules > Automations
- Click Add Automation
- Define conditions (e.g., Created > 5 days ago, Status = Open)
- Choose actions (e.g., Change Status to:
In Follow-Up) - Save and activate
📄 Related article: How Can I Create Automation?
🎯 Example use cases:
- Escalate unanswered tickets after 48 hours
- Move 5-day-old tickets to “In Follow-Up”
- Auto-close tickets 3 days after no customer response
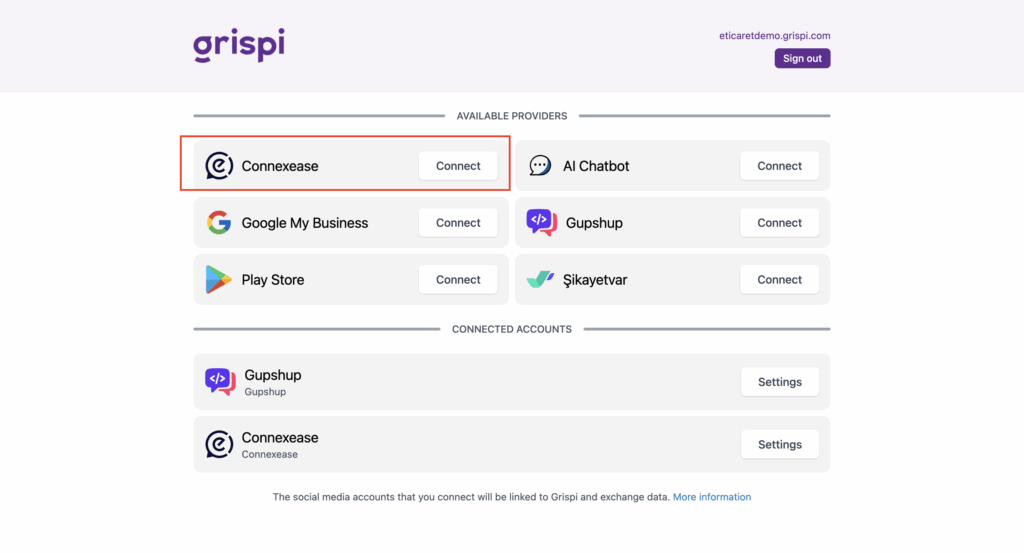
📣 7. Social Media Integration
✅ What does it do?
Connects Facebook and Instagram accounts to Grispi, so DMs and comments become support tickets.
📌 Steps:
- Contact Grispi technical support to request ConnexEase setup
- Arrange a meeting with a Facebook Business Manager admin
- After the meeting:
- Go to Settings > Channels > Social Media > G-Social
- Open the ConnexEase section
- Enter the username and password provided
- After setup, create a filter (e.g., Channel = Instagram)
📄 Related article: Grispi Integration with ConnexEase
💬 8. WhatsApp Integration
✅ What does it do?
Automatically converts WhatsApp messages into support tickets.
⚠️ Important Notes:
- The number must be able to receive SMS or calls
- Any IVR system must be disabled
- The number must be linked to a physical phone
📌 Steps:
- Contact the Grispi technical team
- Setup is completed via ConnexEase
- Verify the number via SMS or call
📄 Related article: How to Integrate WhatsApp in Grispi
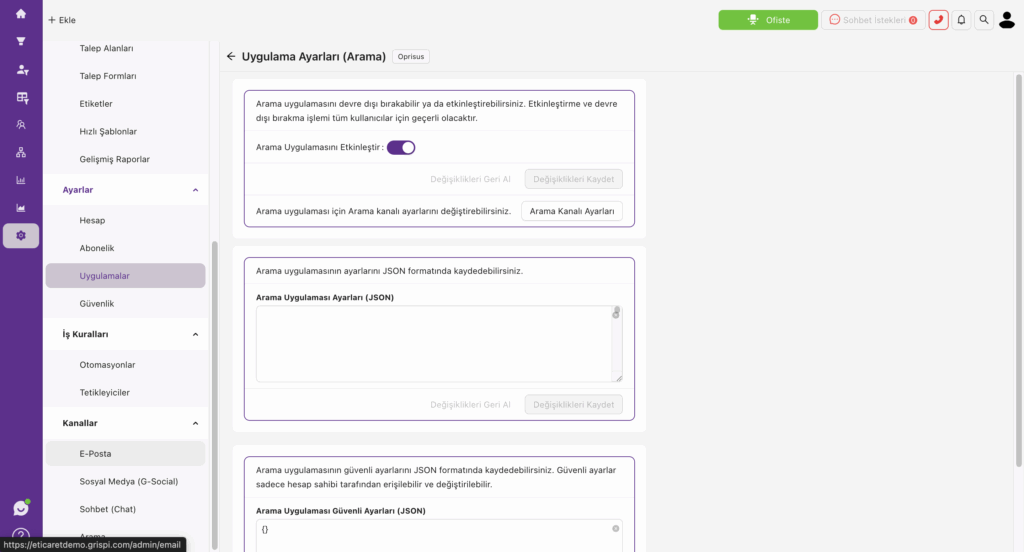
☎️ 9. Call Center Integrations (e.g., Alotech, Oprisus)
✅ What does it do?
Links incoming/outgoing calls to support tickets and displays caller info on the agent’s screen.
📌 Steps:
- Contact the Grispi support team
- Provide the following details:
- Number of agents
- Each agent’s full name, email, and extension
📧 For help: [email protected]
📄 Related articles:
What Is Oprisus (Solveline) Call Integration and How to Activate It?
Grispi Call Center Integration: Alotech and Oprisus
✅ You’re All Set!
You’ve now:
- Added team members
- Integrated your communication channels
- Set up filters, triggers, and automations
With Grispi, you’re ready to manage all customer tickets across multiple channels—efficiently, centrally, and professionally.