Overview
Subscribers represent contacts that can be used when sending campaigns. Each subscriber can optionally be assigned one or more tags.
Each subscriber’s email address must be unique within a given workspace.
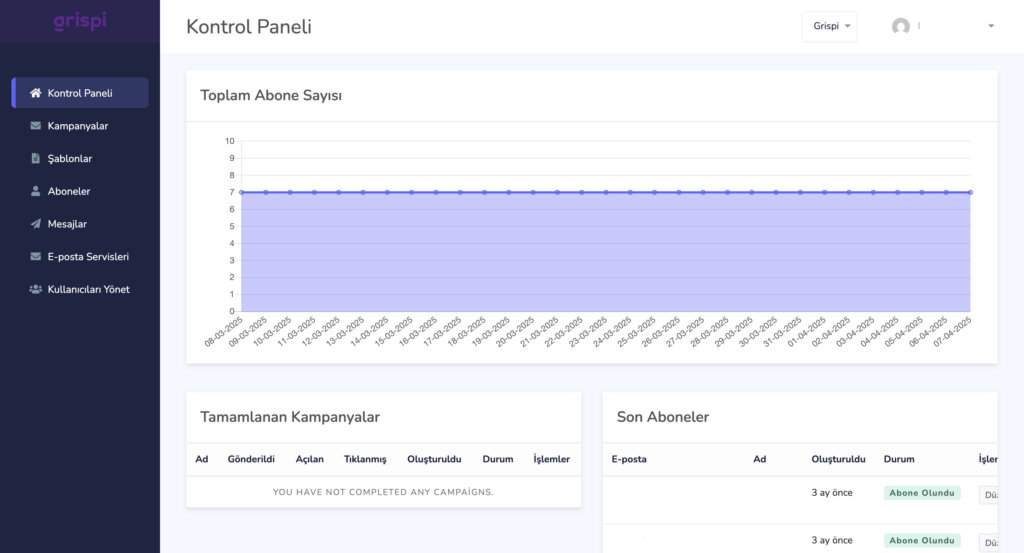
Viewing Subscribers
- Subscribers List:
You can access the subscriber list by clicking on the Subscribers link in the side menu. The page displays a paginated table, with each row representing a different subscriber. - Filtering Options
-By email address and/or name (partial matches are supported)
-By subscription status - Viewing Individual Subscriber Details
Clicking on a subscriber’s email address in the list opens a detailed view of that subscriber.
Subscriber Details
The following information is displayed for each subscriber:
- Email address
- First name
- Last name
- Subscription status
- Assigned tags (if any)
- A list of all messages sent to the subscriber (shown in the Messages section)
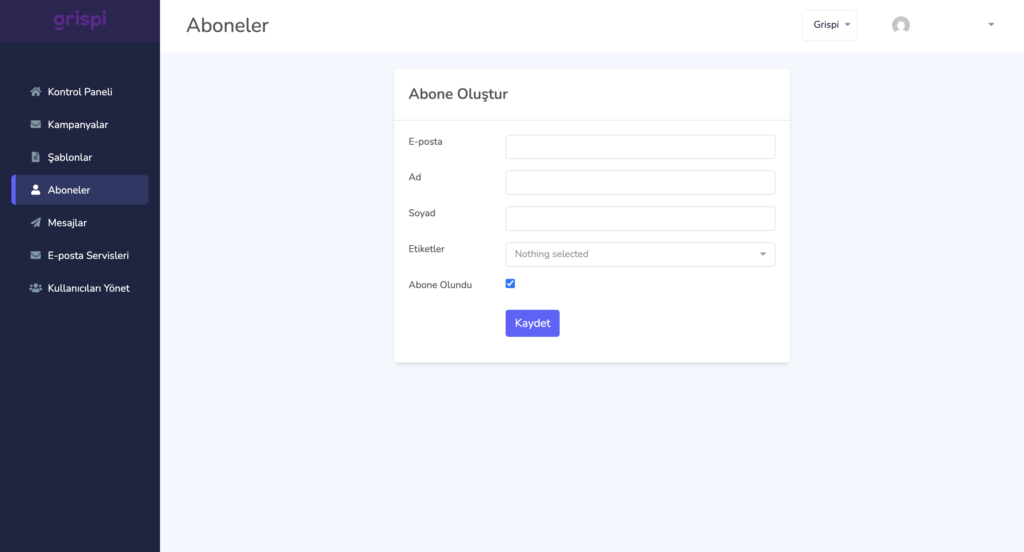
Adding and Updating Subscribers
Via the Application Interface:
- Add Subscriber: Click the New Subscriber button on the Subscribers page.
- Update Subscriber: Click the Edit button in the corresponding row of the subscriber.
- Information that can be saved:
–Required: Email address
–Optional: First name, last name, subscription status, and tags
With CSV Upload:
- Accessible from the Subscribers page (Dropdown Menu > Import Subscribers)
- CSV Format:
id(optional): Used only for updates; required when updating an email addressemail(required): Must be uniquefirst_name,last_name(optional)
- Header Row: The first line of the CSV must include the field names in the correct order.
- Tags: A single tag can be applied to all imported subscribers. Individual tagging per subscriber is not supported via CSV.
- Via API: Subscribers can also be managed programmatically. (See the API documentation for details.)
Exporting Subscribers
To export your subscriber list:
- Go to the Subscribers page
- Click Export Subscribers from the drop-down menu
Unsubscribing Subscribers
Manual Unsubscribe:
- Navigate to the subscriber’s edit page. Check or uncheck the Subscribed option and save.
Unsubscribe Links:
- You can embed unsubscribe links in your email templates or campaigns.
- When clicked, users are redirected to a web page where they can confirm their unsubscription.
- After confirmation, they receive a message confirming the unsubscribe action, along with an option to re-subscribe.
Tags
- Tags can be applied via the user interface or during a CSV upload.
This system allows the Grispi Bulk Email Portal to efficiently manage, filter, and segment subscribers for campaigns. It provides a comprehensive solution that supports both manual and automated workflows.