- On the home page, click the person icon in the upper right corner, then select Edit Profile. This will open your user profile page.
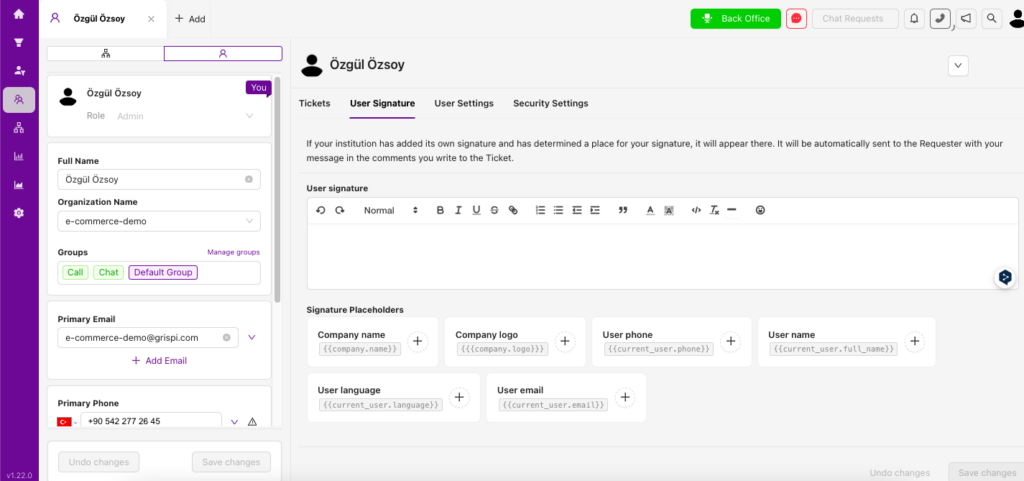
- Switch to the User Signature tab.
- In the User Signature field, you’ll find a text box where you can type your signature.
- Here, you can enter details such as your name, position, company name, and contact information.
- At the bottom of the screen, you’ll see a list of Signature Placeholders. These allow you to dynamically insert user information into your signature automatically.
- To format your signature, use the toolbar at the top of the text box. Options include font, size, bold, italic, and other styling tools.
- After creating or editing your signature, click Save Changes at the bottom of the screen to apply it.
By following these steps, you can easily create a professional user signature in Grispi. Once set, your signature will be automatically added to all your emails and ticket messages.