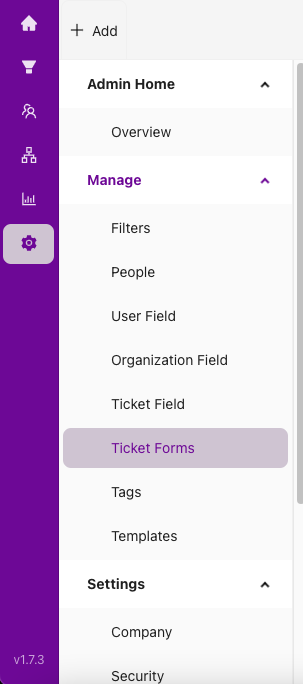
1. Go to Settings → Ticket Forms.
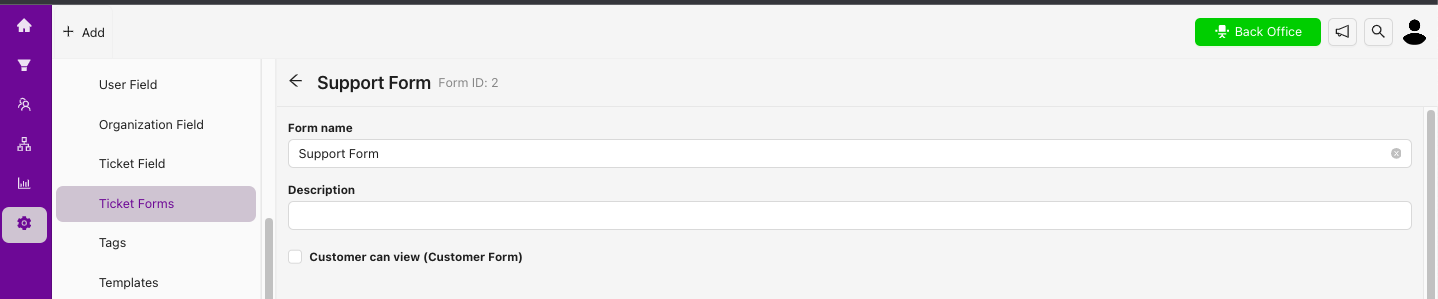
2. Click +Add Form to create a new ticket form.

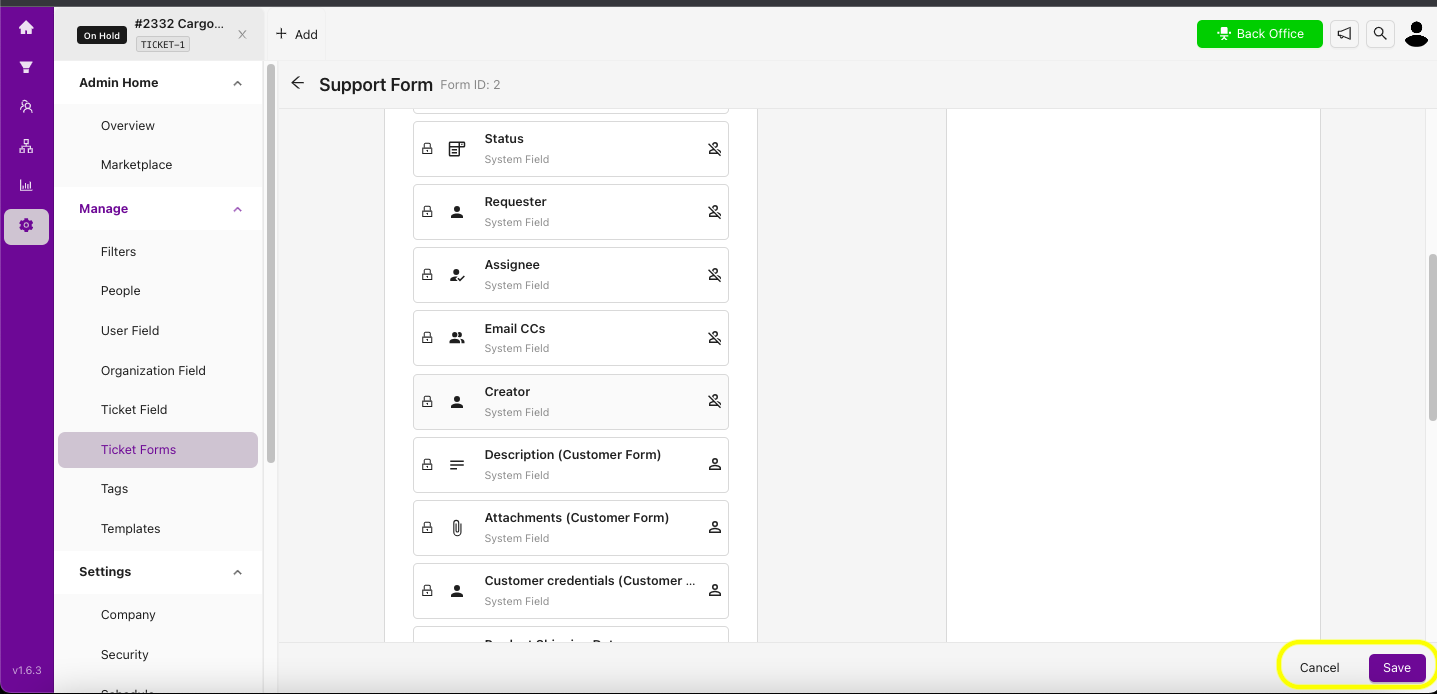
3. On the form creation page, enter the name and description of the form. Use the drag-and-drop interface to add the fields you want to include.
4. In the image below, you can see the default fields provided by Grispi under the Selected Ticket Fields section. These fields are mandatory and cannot be removed. Under Existing Ticket Fields, you’ll find custom fields you’ve already created, which can be reused in the form.
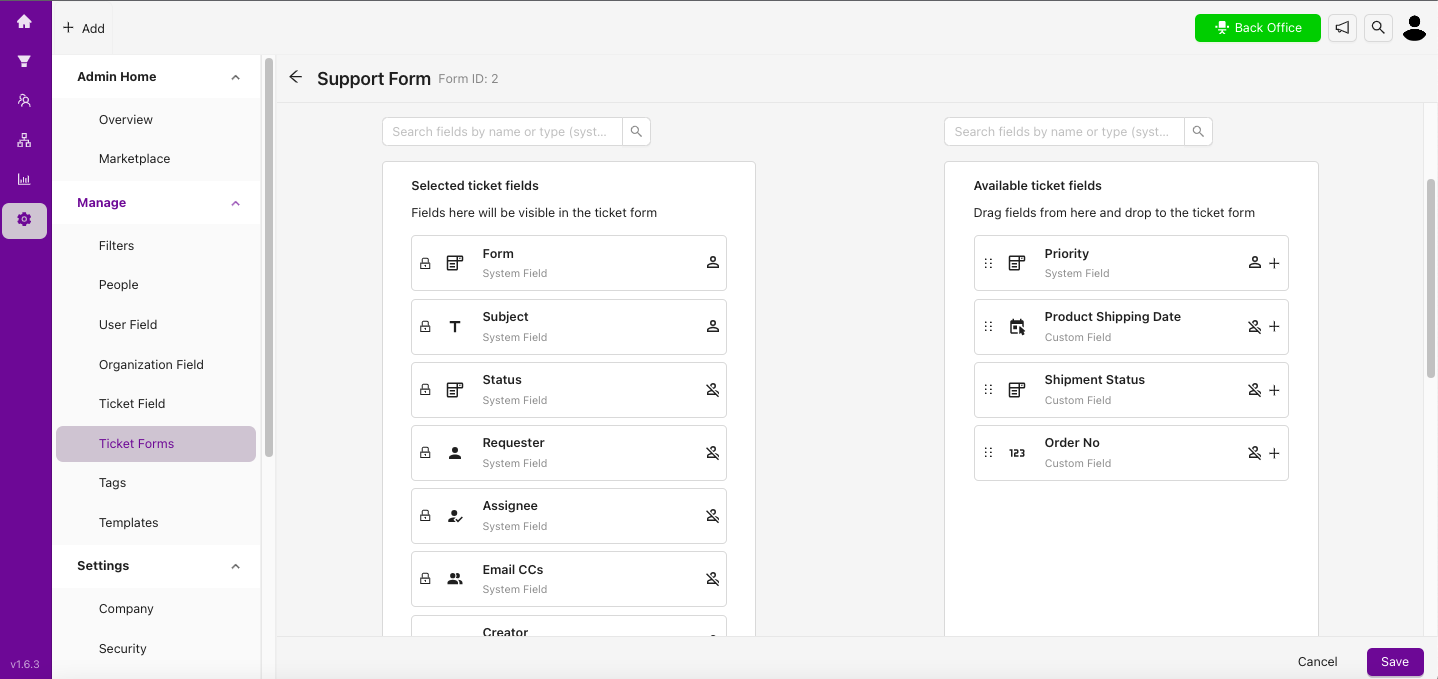
5. Click Save to start using your new ticket form.
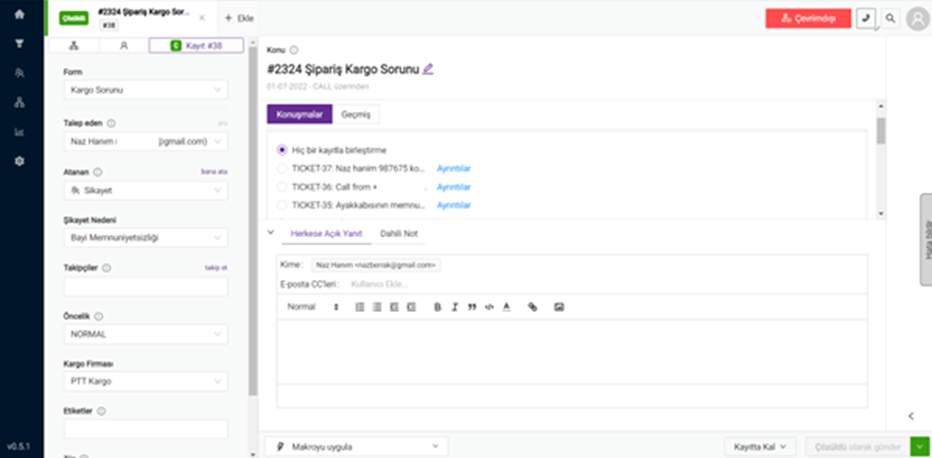
6. To use the ticket form, open a ticket from the Home page and click the Forms section. Your available ticket forms will be listed in a dropdown menu. You can select a form while creating a new ticket or editing an existing one.
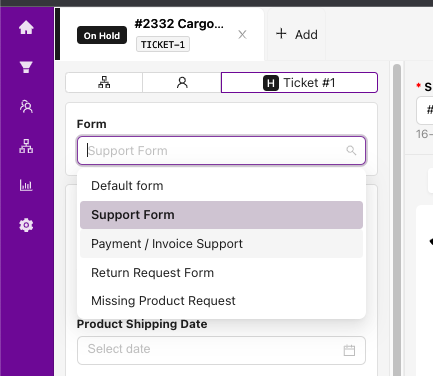
7. Each form can be customized with different fields. This allows you to collect the right information based on the type of ticket, helping reduce complexity and streamline your support process. The fields displayed will vary depending on the selected form.