Automations are rules used to make customer support processes more efficient and effective. With automation, you can perform actions that are automatically triggered when certain conditions are met. It optimizes your customer support process and increases efficiency by automating repetitive tasks.
Administrators can create automations by following the steps below.
To add automation;
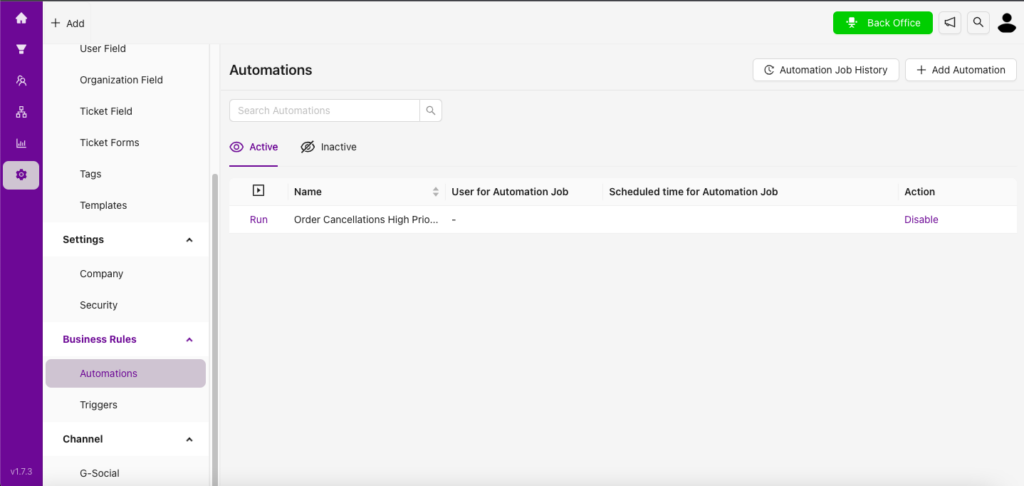
- Go to the Settings page and select the Automations submenu from the Business Rules menu on the left.
- Click on the Add Automation button.
- Enter a title for the automation.
- Add conditions and actions for the automation.
An automation consists of three parts:
- Time planned for the automation to run
- Conditions that must be met for the automation to work
- Actions to be taken when conditions are met
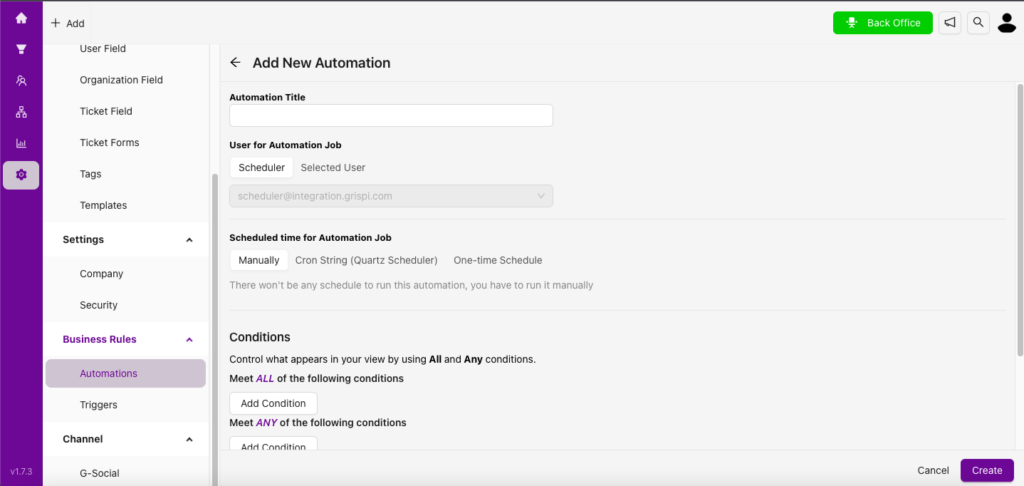
Set the planned time for the automation to run:
Manual: There is no scheduled time; you must run the automation manually. The automation runs as soon as you activate it.
Cron Sequence (Quartz Timer): A cron sequence allows you to run the automation at regular intervals (e.g., every hour, every day, once a week). Enter the cron expression in this field.
You can generate a cron expression using: http://www.cronmaker.com/?0
Example cron sequence to run automation every hour:
0 0 0 0/1 1/1 1/1 * ? *
One-Time Planning: Use this option to schedule automation to run once at a specific future date. The automation will run for tickets that meet the conditions when that date arrives.
2. Conditions;
Click the Add Condition button. Use the All or Any condition options to specify which tickets the automation should apply to.
3. Action;
Click the Add Action button. Select the actions that will be performed if the conditions are met. You can update priority, assignment, type, or other form fields of the relevant tickets and send bulk emails.
To simplify:
If condition X is true, then perform action Y.
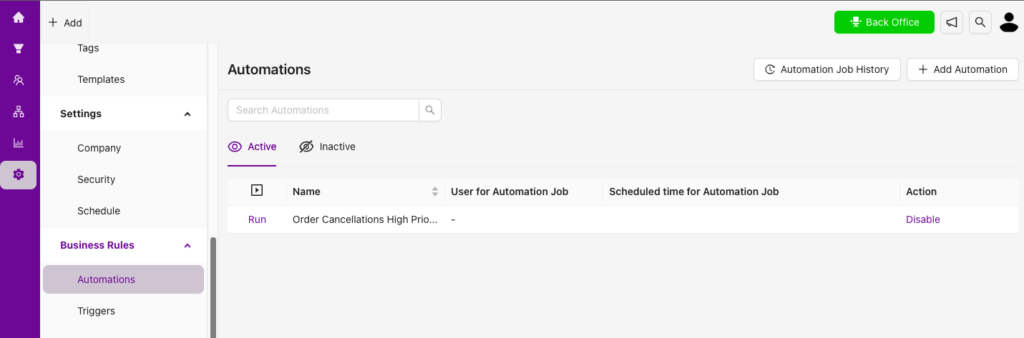
- Click Create to save your new automation.
- You can activate the automation by clicking the Run button.
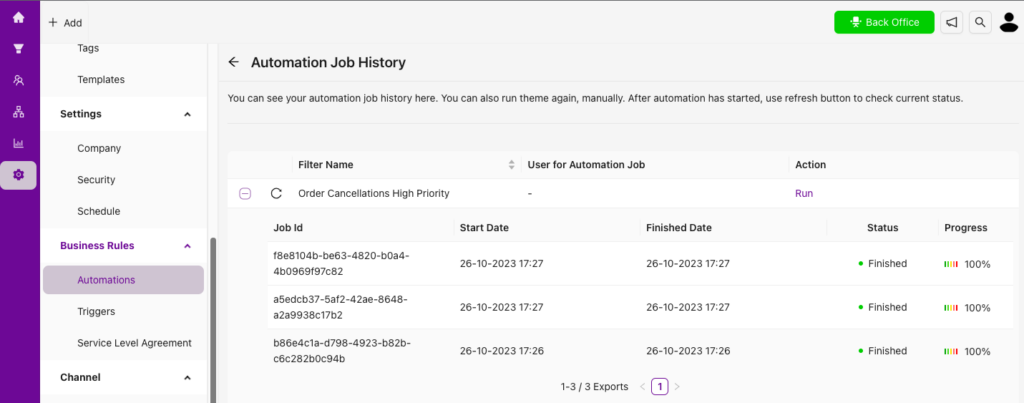
Note:
In Grispi, automations are logged in the Work History when they are active. Inactive automations do not appear in the work history until they are activated.